|
|

|
Zundapp KS601 - Rebuilding the Carburetors
This Page Is Under Construction
|
| |
| |
Prior to the lightening strike fire, the carbs had been in usable condition. In fact, the
bike had run very nicely; extremely stable idle, no bad manners at any point accelerating
or deccelerating.
The one issue I had was that one of the float needles didn't seal up completely. The bike
had a really bad hot starting problem which I did not resolve. Never really felt I had the
time to spend on it. I think the needle was at least part of that, but then why didn't it
fire up on the other cylinder and clear out? There was a bit too much spark as the points
opened, so maybe the condensor was failing or, god forbid, the coil.
Anyhow, all of that becomes moot post lightening strike. I had a hell of a mess to deal with
and a few things slipped through the cracks, the Zundapp being one of them. Being as how
it was dead center in the middle of the fire - albeit the Zundapp on the floor and the fire
in the loft and roof, one would have thought I'd pull the plug and check the cylinders for
water, then pull the covers off the carbs and do the same. All I can say is, didn't.
Should have, for sure, but didn't for about two years.
When I was contacted regarding the First North American Zundapp Rally at Spring Valley Ohio
in 2014 I immediately decided I had to go. As an aside, I would never have heard about it
had it not been for this website, but some who knew of me through the site sent me emails
letting me know about the rally. Creating the site and all the years maintaining it paid for
itself right there.
I had recently gotten the Zundapp from storage and back to the rebuilt garage and done some
initial cleanup, as related via the link Back to Zundapp KS601 Refurb, upper left. Now I
took a closer look at the bike's condition. This is when I first discovered the right carb's
slide was firmly stuck in its barrel, the first indication that all was not well in Zundapp
land.
|
|
Assessment
|
|
|
|
|
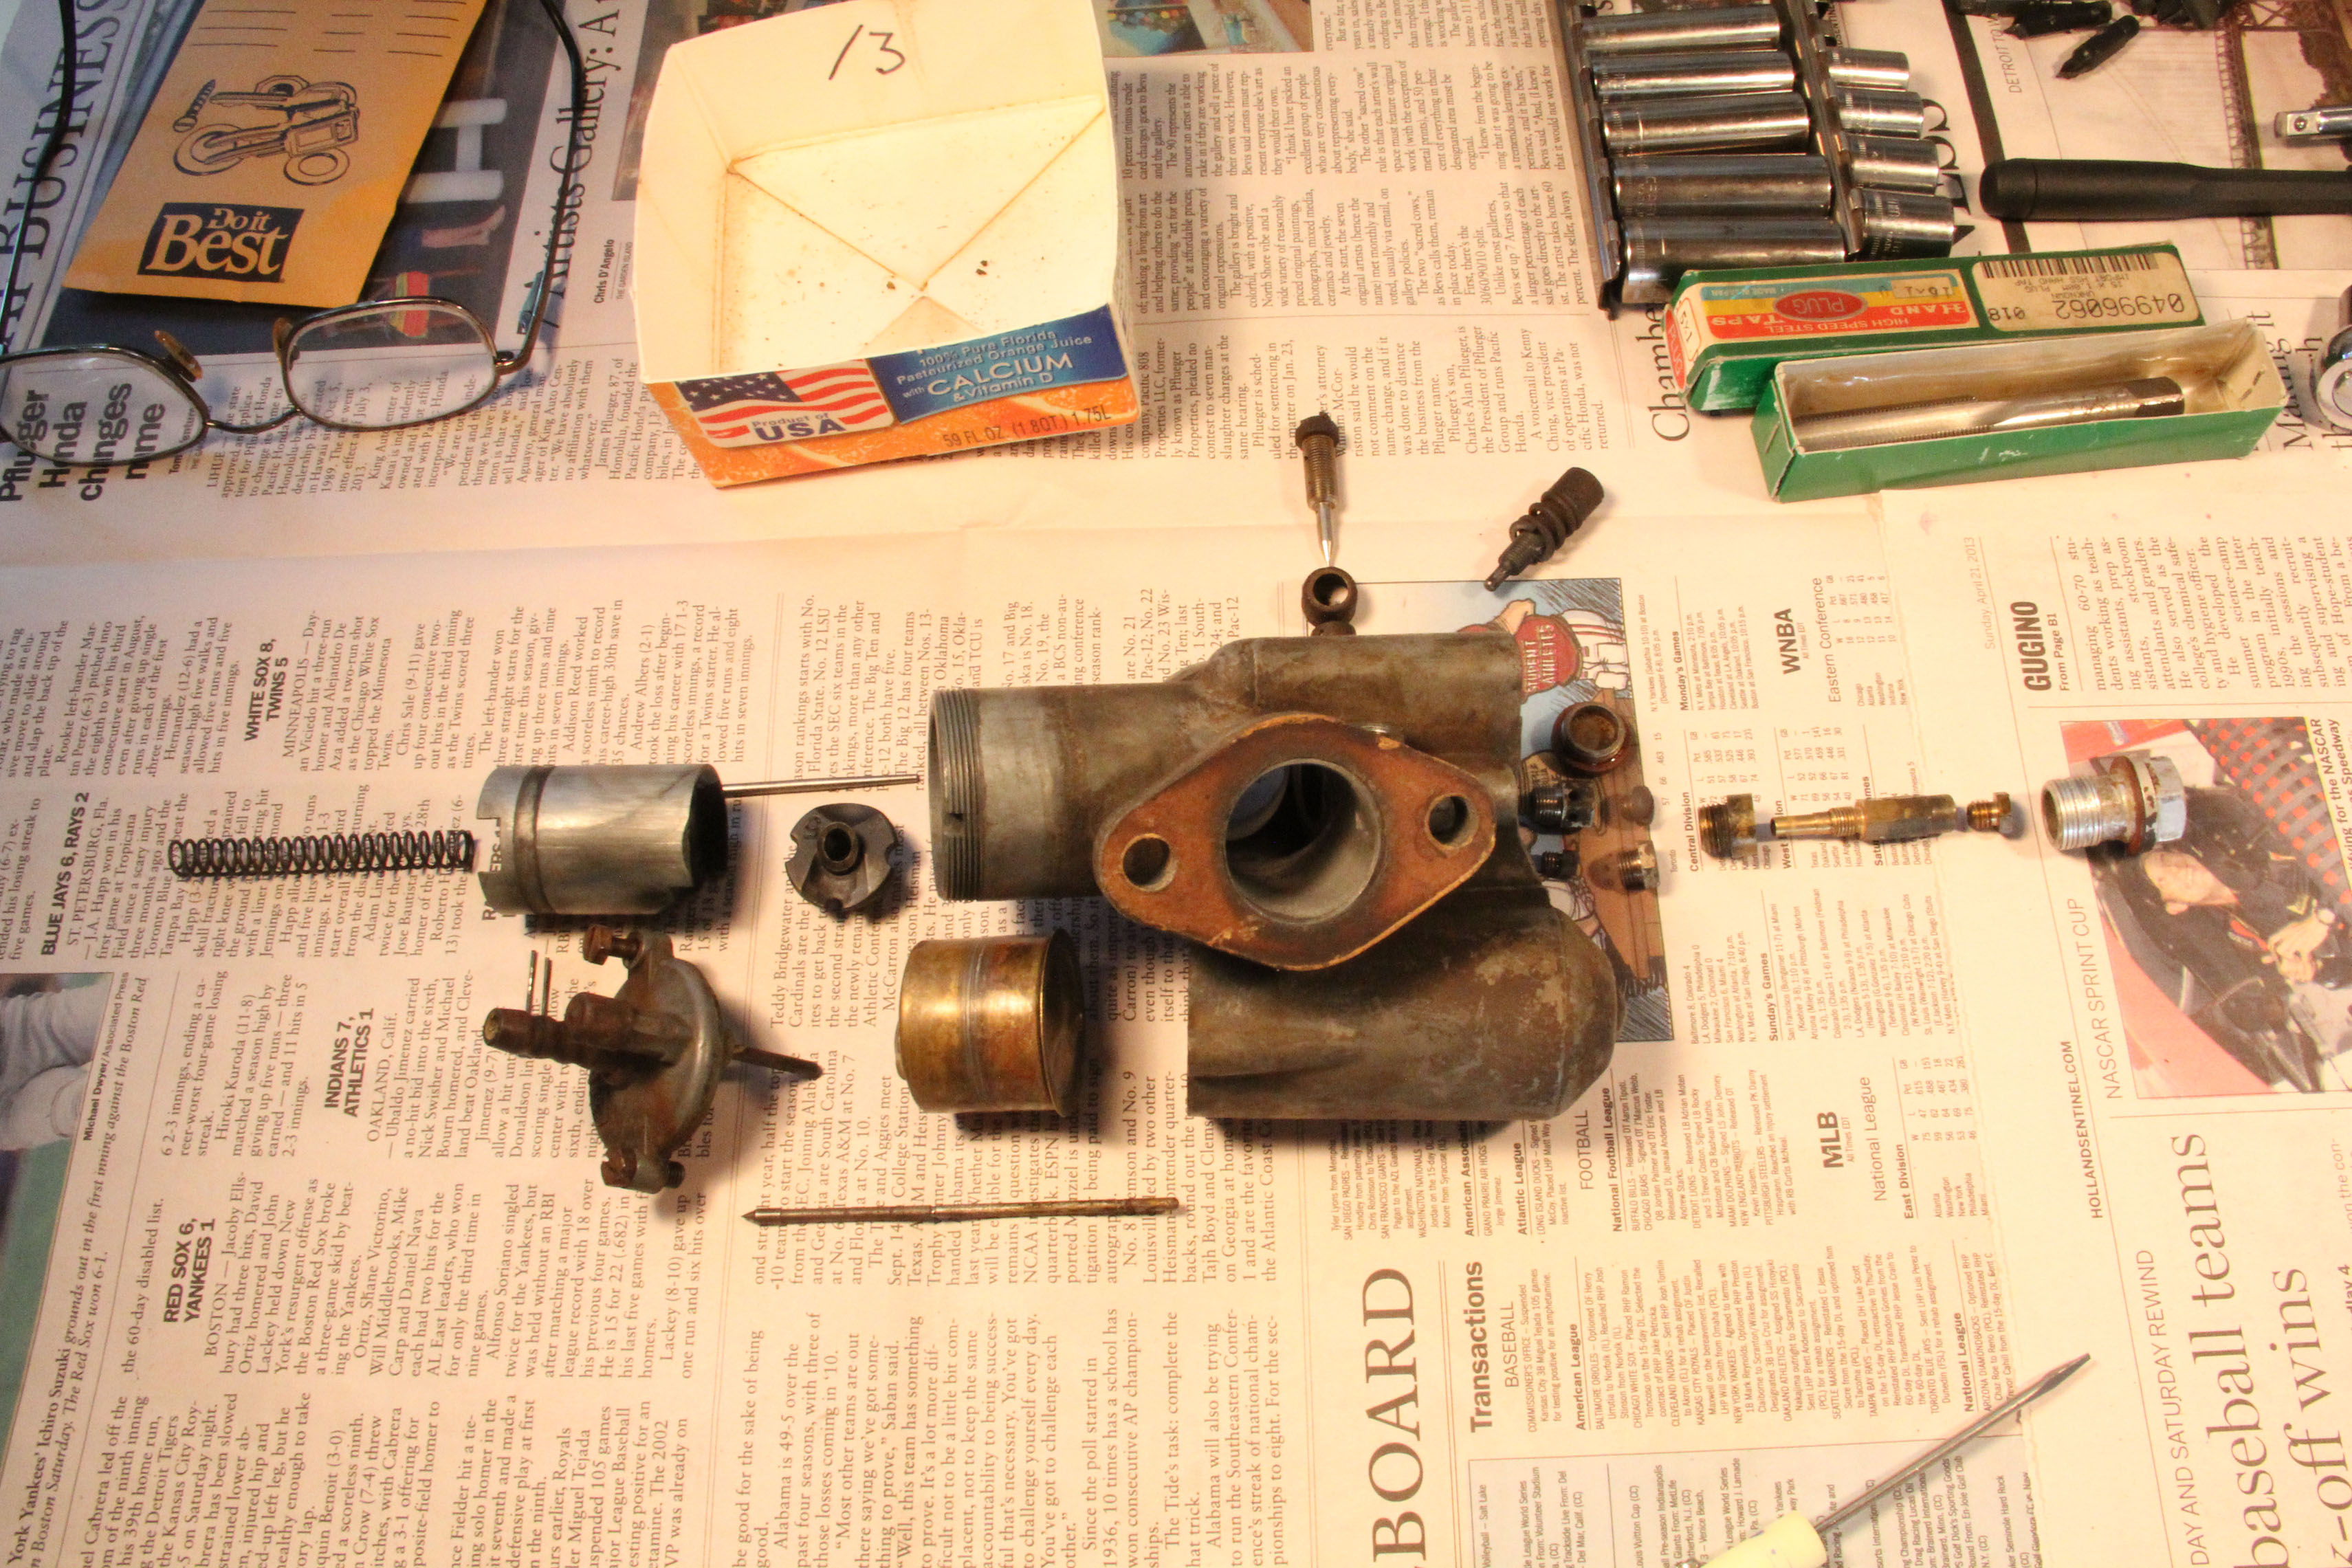
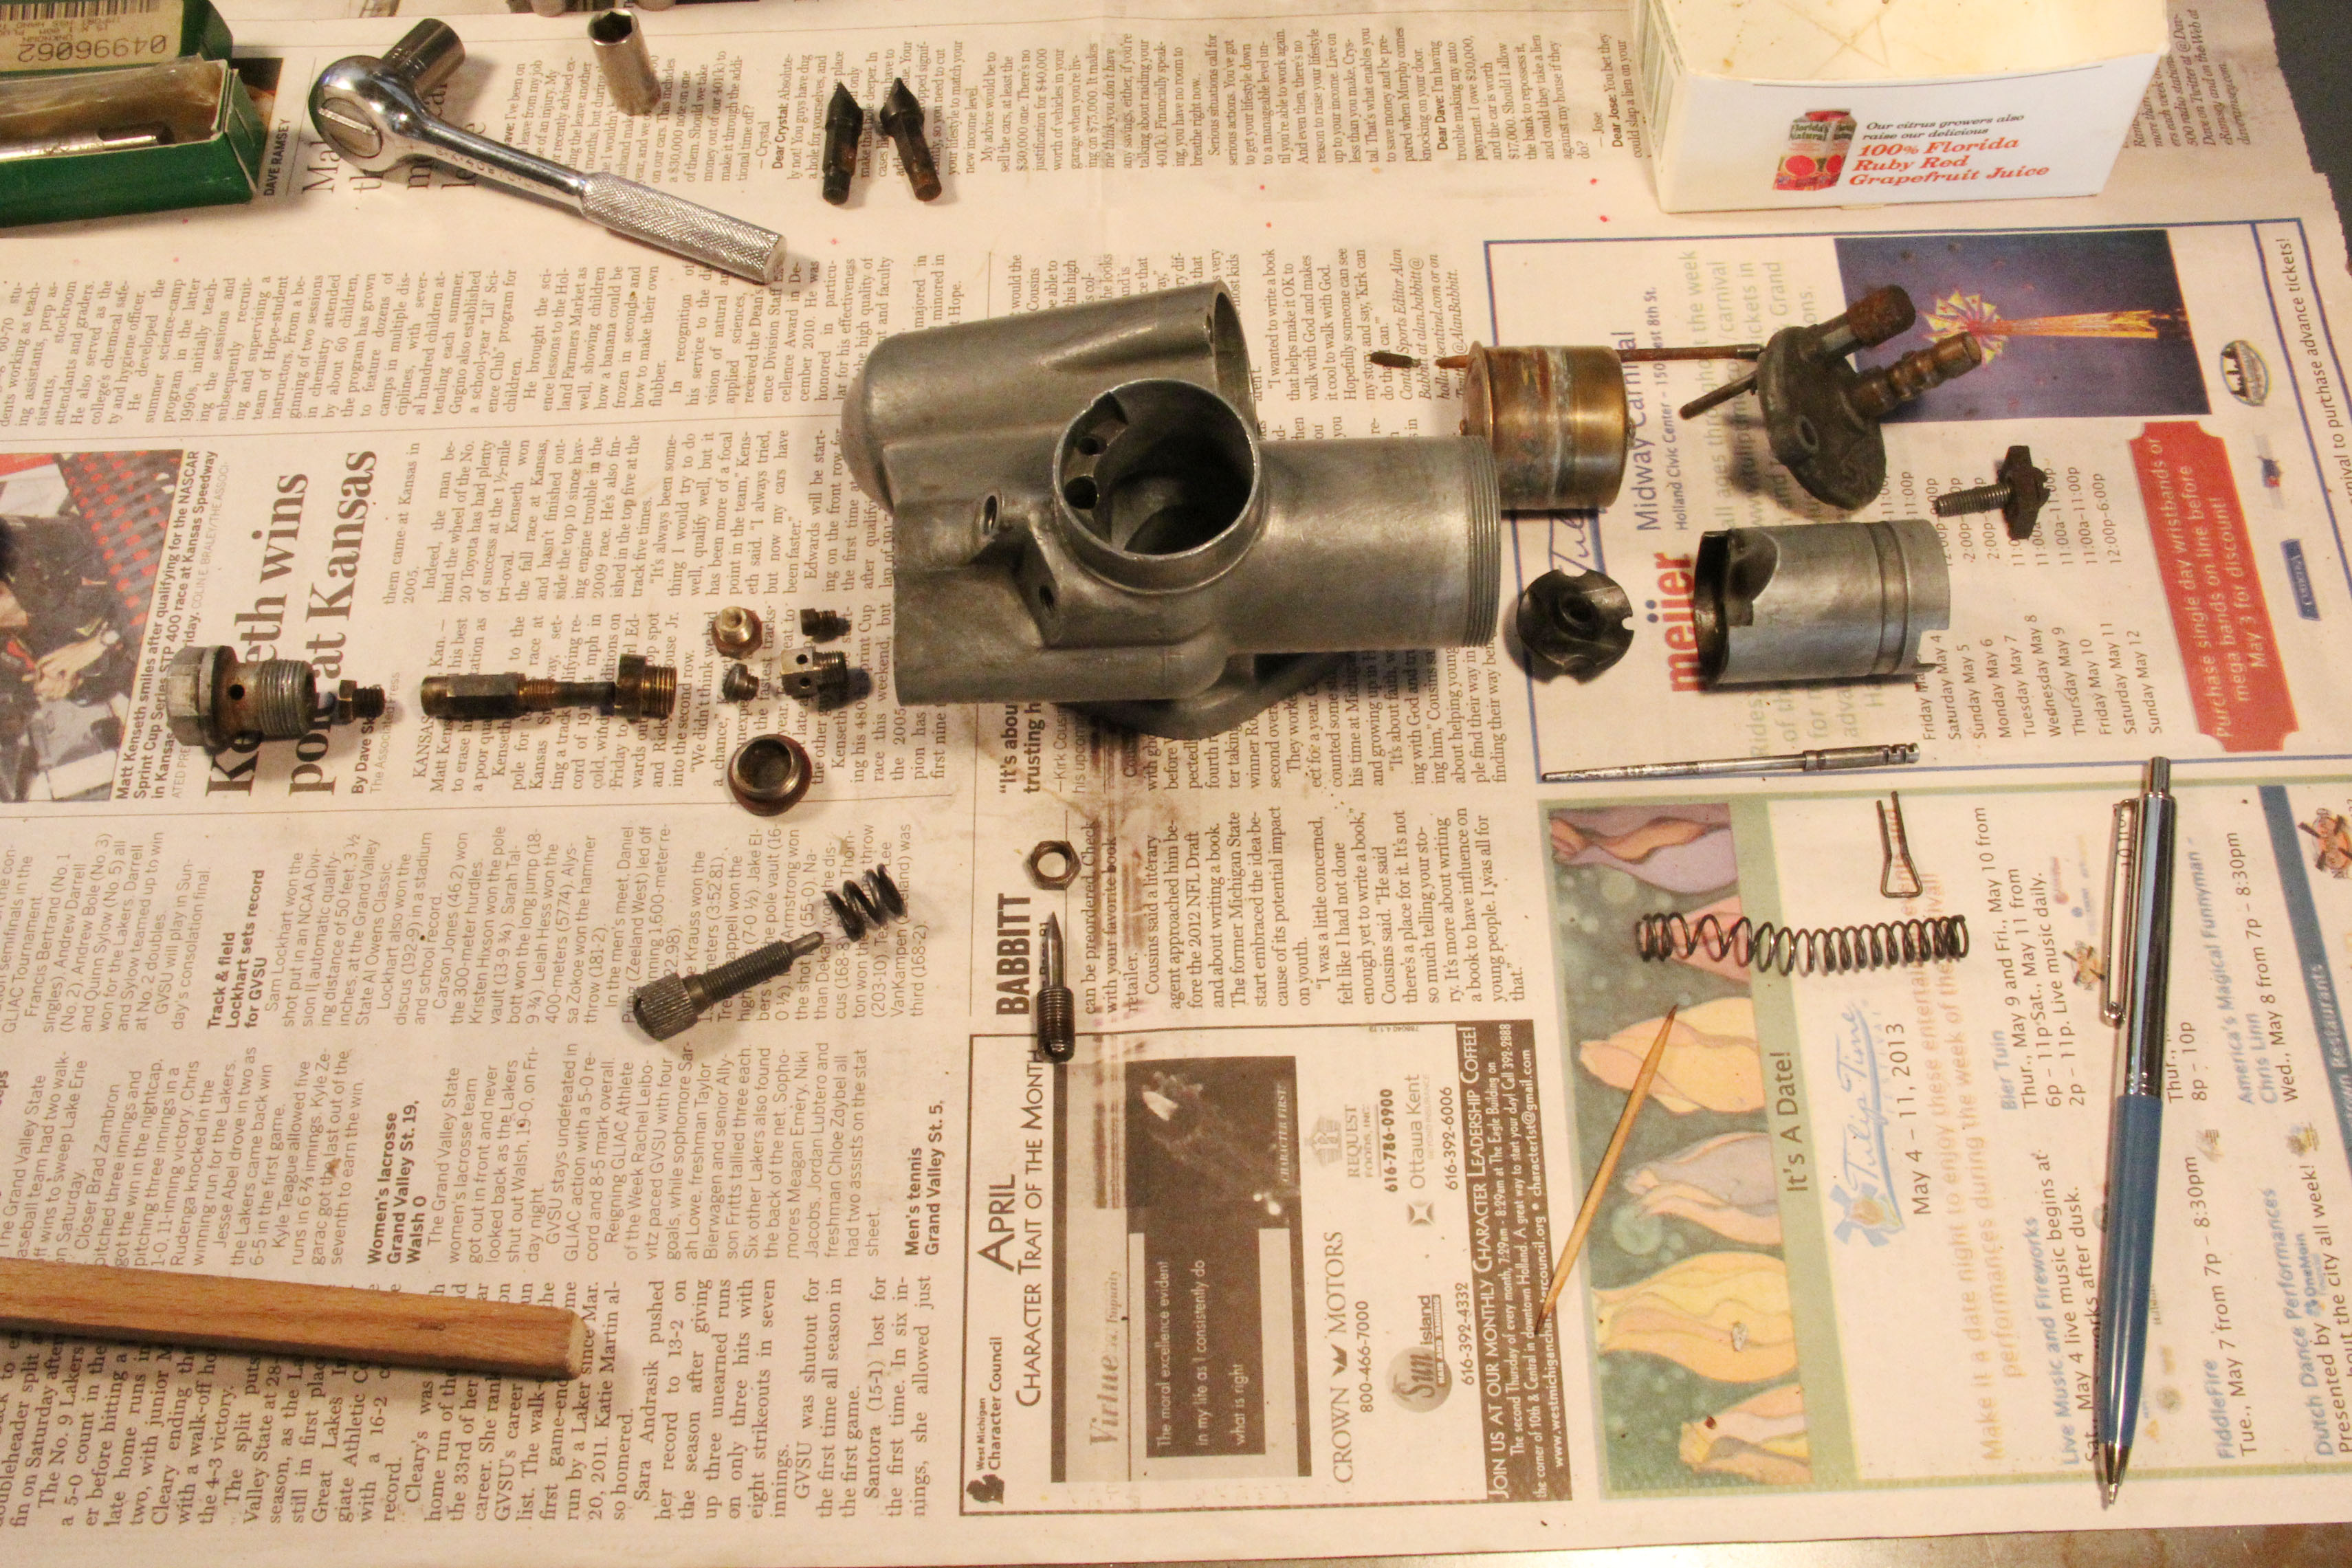
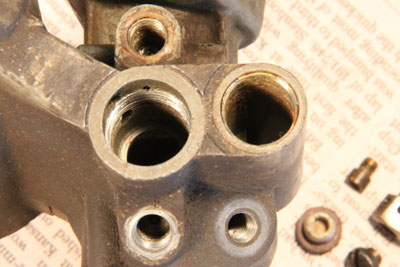
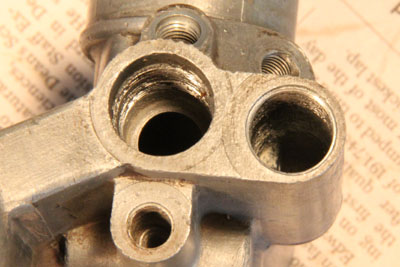
Above, left and right, are the two carbs, Bing 1/25/3 and 1/25/4's respectively. These are
Bing type 119. I don't know how that type number correlates with the 1/25 designation,
assuming there is some logical correlation. The KS601 Sports use the /3 and /4's and appear
to be the only motorcycle that ever used them, making them rather a rare bird. The non-sport
engines use 1/25/1 and 1/25/2's. Don't know if they were used by other bikes. I would guess
probably not because if the flange angle of the /3 & /4 is unique, so to would be
that of the 1/ & /2.
You can see that I have already cleaned up the body of the /4. It looked just like the /3
and both were a genuine bitch to clean on the outside, never mind the inside. These shots
were basically to make sure I didn't forget how things go together. I know how I work and
it can sometimes be a glacial process. A picture, some months down the road, truly is worth
10,000 words.
|
|
|
|
From here on down the text has nothing to do with the carburetors. I just copied the format
from a finished page as a template and will fill it in as time allows. Meanwhile, enjoy the
images.
|
|
|
|
But back to the axle. Above left and right we see the dial indicator happily showing less than
a thousandth of bend left after straightening. The axle would yield kind of suddenly, and move
a few thousandths, so when I got it to this point I thought a touch under 0.001" is pretty
decent. I didn't want to keep working the damned thing back and forth, so I called it good.
|
|
|
|
But back to the axle. Above left and right we see the dial indicator happily showing less than
a thousandth of bend left after straightening. The axle would yield kind of suddenly, and move
a few thousandths, so when I got it to this point I thought a touch under 0.001" is pretty
decent. I didn't want to keep working the damned thing back and forth, so I called it good.
|
|
The Atlas Press
|
|
It took more force than I was happy with, but I did finally get the damned thing out.
It had a good sized bow in it, not quite centered but favoring the left side a bit.
My impression is that the bend started where the axle emerges from the left side of the
hub and makes its way, unsupported for maybe 2.5", to the left plunger casting.
It is my hope this was someone doing sky shots with the bike, not just poor metallurgy.
Sky shot damage is preventable. That's what the Sabres are for. I plan to allow the
Zundapp a mellow peaceful existence.
Anyhow, time to introduce the axle to my 15 ton Atlas mandrel press, one of my most prized
possessions. This thing can put a truly impressive bit of force at the end of the ram.
With the Atlas, one does not worry about having insufficient force. One worries about wrecking
stuff before you're aware you're doing it. Although, compared to a hydraulic press, you have great
feedback pulling on the handle, but you need to respect the mechanical advantage. 105 Lbs at
the end of the handle puts 15 tons at the end of the ram when the handle is in the best
position and set for compound leverage.
My Zündapp KS 601's axle ready for a nudge.
|
|
 The Zündapp KS 601 axle in the Atlas mandrel press.
The KS601 rear axle, in the press and ready for a careful nudge.
|
Above, you see the basic setup for measuring the degree and location of the bend. Actually,
in that picture I'm about to give it a nudge, so the dial indicator is to show me how much
I'm deflecting it, and how much it springs back. There's a short V-block under the ram, and
copper shims between the axle and the V-blocks.
As an aside, notice the workbench behind the press. At lower right you see the nose of my
pallet jack poking out from under the bench. Most of the stuff in the right half of the
garage is set up to move quickly with the pallet jack; stereo and speakers, tool cabinet,
grinding bench, etc. This way I can use the right stall as a very flexible work space, then
clear it quick to get a car in there. Also, the pallet jack can effortlessly move all my
machinery, and you can jack up a car easily and shift it side to side in the stall, like
for pulling half axles.
In the summer, it takes literally a minute to move the grinding bench out the door to keep
the mess outside. Also, the pallet jack stores under the bench, as you see (part of it) here,
and takes up only about a foot of extra room when I'm not using it. Love that thing!
Anyhow...
|
|
|
Last updated 11-21-16
Email:
mechanique at wmol dot com
|

The Zündapp KS 601 driveline.
|
|
|